Hugoでrobots.txtとsitemap.xmlを作る
日付 タグ hugo カテゴリ hugo目次
Hugoでのrobots.txt
HugoでWebサイトのクローラーを制御するためのrobots.txtを用意するにはどうしたらいいのか。
https://gohugo.io/templates/robots/ - Robots.txt File
公式サイトの説明を見ると、デフォルトではfalseになっているenableRobotsTXTをtrueにすればOKのようだ。
config.toml
enableRobotsTXT = true
上記設定を追加してhugoビルドコマンドをかけてやると、public/robots.txtが生成される。
public/robots.txt
User-agent: *
ただ、上記のように、これだと実質上何も設定をしていないのに等しいrobots.txtが作られるだけなので、
/layouts/robots.txtファイルのテンプレートを作って編集してカスタマイズしたrobots.txtを生成するようにするか、
それとも、あるいはHugoにビルドでrobots.txtを生成させるのを止めて
If you do not want Hugo to create a default robots.txt or leverage the robots.txt template, you can hand code your own and place the file in static. Remember that everything in the static directory is copied over as-is when Hugo builds your site.
static/robots.txtを用意する方法もあるようだ。今回はこの自前でstatic/robots.txtを用意する方向で行くことにした。
そのため、一旦config.tomlは
config.toml
enableRobotsTXT = false
のデフォルト値に戻し、static/robots.txtとして以下のような物を用意
static/robots.txt
User-agent: *
Disallow: /categories/
Disallow: /tags/
Disallow: /blog/
Sitemap: http://www.example.com/sitemap.xml
ここでrobots.txtのそれぞれの項目の意味は以下である。
- User-argent
- 対象とする検索ロボットを指定する
*を指定すると全クローラーが対象になる
- Disallow
- アクセスを拒否したいファイルやディレクトリを指定する
- Sitemap
- sitemap.xmlを設置しているページを絶対パスで指定する
今回はDisallowとして、タグやカテゴリーなどに関するURLリンクのみを表示しているリストページはクローリングによるインデックス登録をしてもらわないでいいので、それらをDisallow指定した。
また、 Sitemapに指定するsitemap.xmlは次に用意していくことにする。
Hugoでのsitemap.xml
デフォルトでsitemapが作られる
気づいていなかったが、これは公式サイトにも説明がある。
https://gohugo.io/templates/sitemap-template/ - Sitemap Template
A single Sitemap template is used to generate the sitemap.xml file. Hugo automatically comes with this template file. No work is needed on the users’ part unless they want to customize sitemap.xml.
Hugoではhugoコマンドでビルド時にpublic/sitemap.xmlが生成され、自動的にsitemap.xmlが作られるのだ。
さて、デフォルトの挙動だと、全部のURLがsitemap.xmlに入るので、robots.txtでDisallowに指定したページをsitemap.xmlから除外する方法を考える。
sitemapをカスタマイズする
sitemap.xmlをカスタマイズするには/layouts/sitemap.xmlを用意して、そこでカスタマイズ設定を入れていけばいいようだ。
/layouts/sitemap.xml
<urlset xmlns="http://www.sitemaps.org/schemas/sitemap/0.9">
  {{ range .Data.Pages }}
  {{ if or (or (in .Permalink "/tags/") (in .Permalink "/categories/")) (in .Permalink "/blog/")}}
  {{ else }}
  <url>
    <loc>{{ .Permalink }}</loc>{{ if not .Lastmod.IsZero }}
    <lastmod>{{ safeHTML ( .Lastmod.Format "2006-01-02T15:04:05-07:00" ) }}</lastmod>{{ end }}{{ with .Sitemap.ChangeFreq }}
    <changefreq>{{ . }}</changefreq>{{ end }}{{ if ge .Sitemap.Priority 0.0 }}
    <priority>{{ .Sitemap.Priority }}</priority>{{ end }}
  </url>
  {{ end }}
  {{ end }}
</urlset>
そこでこんなテンプレートファイルを用意した。
{{ if (or (in .Permalink "/tags/") (in .Permalink "/categories/")) (in .Permalink "/blog/")}}
判定によってURLが/tags/や/categories/や/blog/といった文字列を含むURLの場合は、sitemap.xmlに書き出さないようにしている。
これによってrobots.txtと内容的には符号する形のsitemap.xmlができたはず。
sitemap.xmlを利用してURLをGoogleへインデックス登録
「URLをGoogleへインデックス登録をしてみた」でURLを直接に指定してインデックス登録する手順を行なったが、 ( ==> URLをGoogleへインデックス登録をしてみた )
ページ数が増えていくつもある場合には1つ1つURLのインデックス送信をするのはかなり面倒になる。 そこでsitemap.xmlを作ったので、せっかくなので、sitemap.xmlを利用してインデックス登録を行なってみた。
Google Search Consoleにログインして「サイトマップ」を選択。
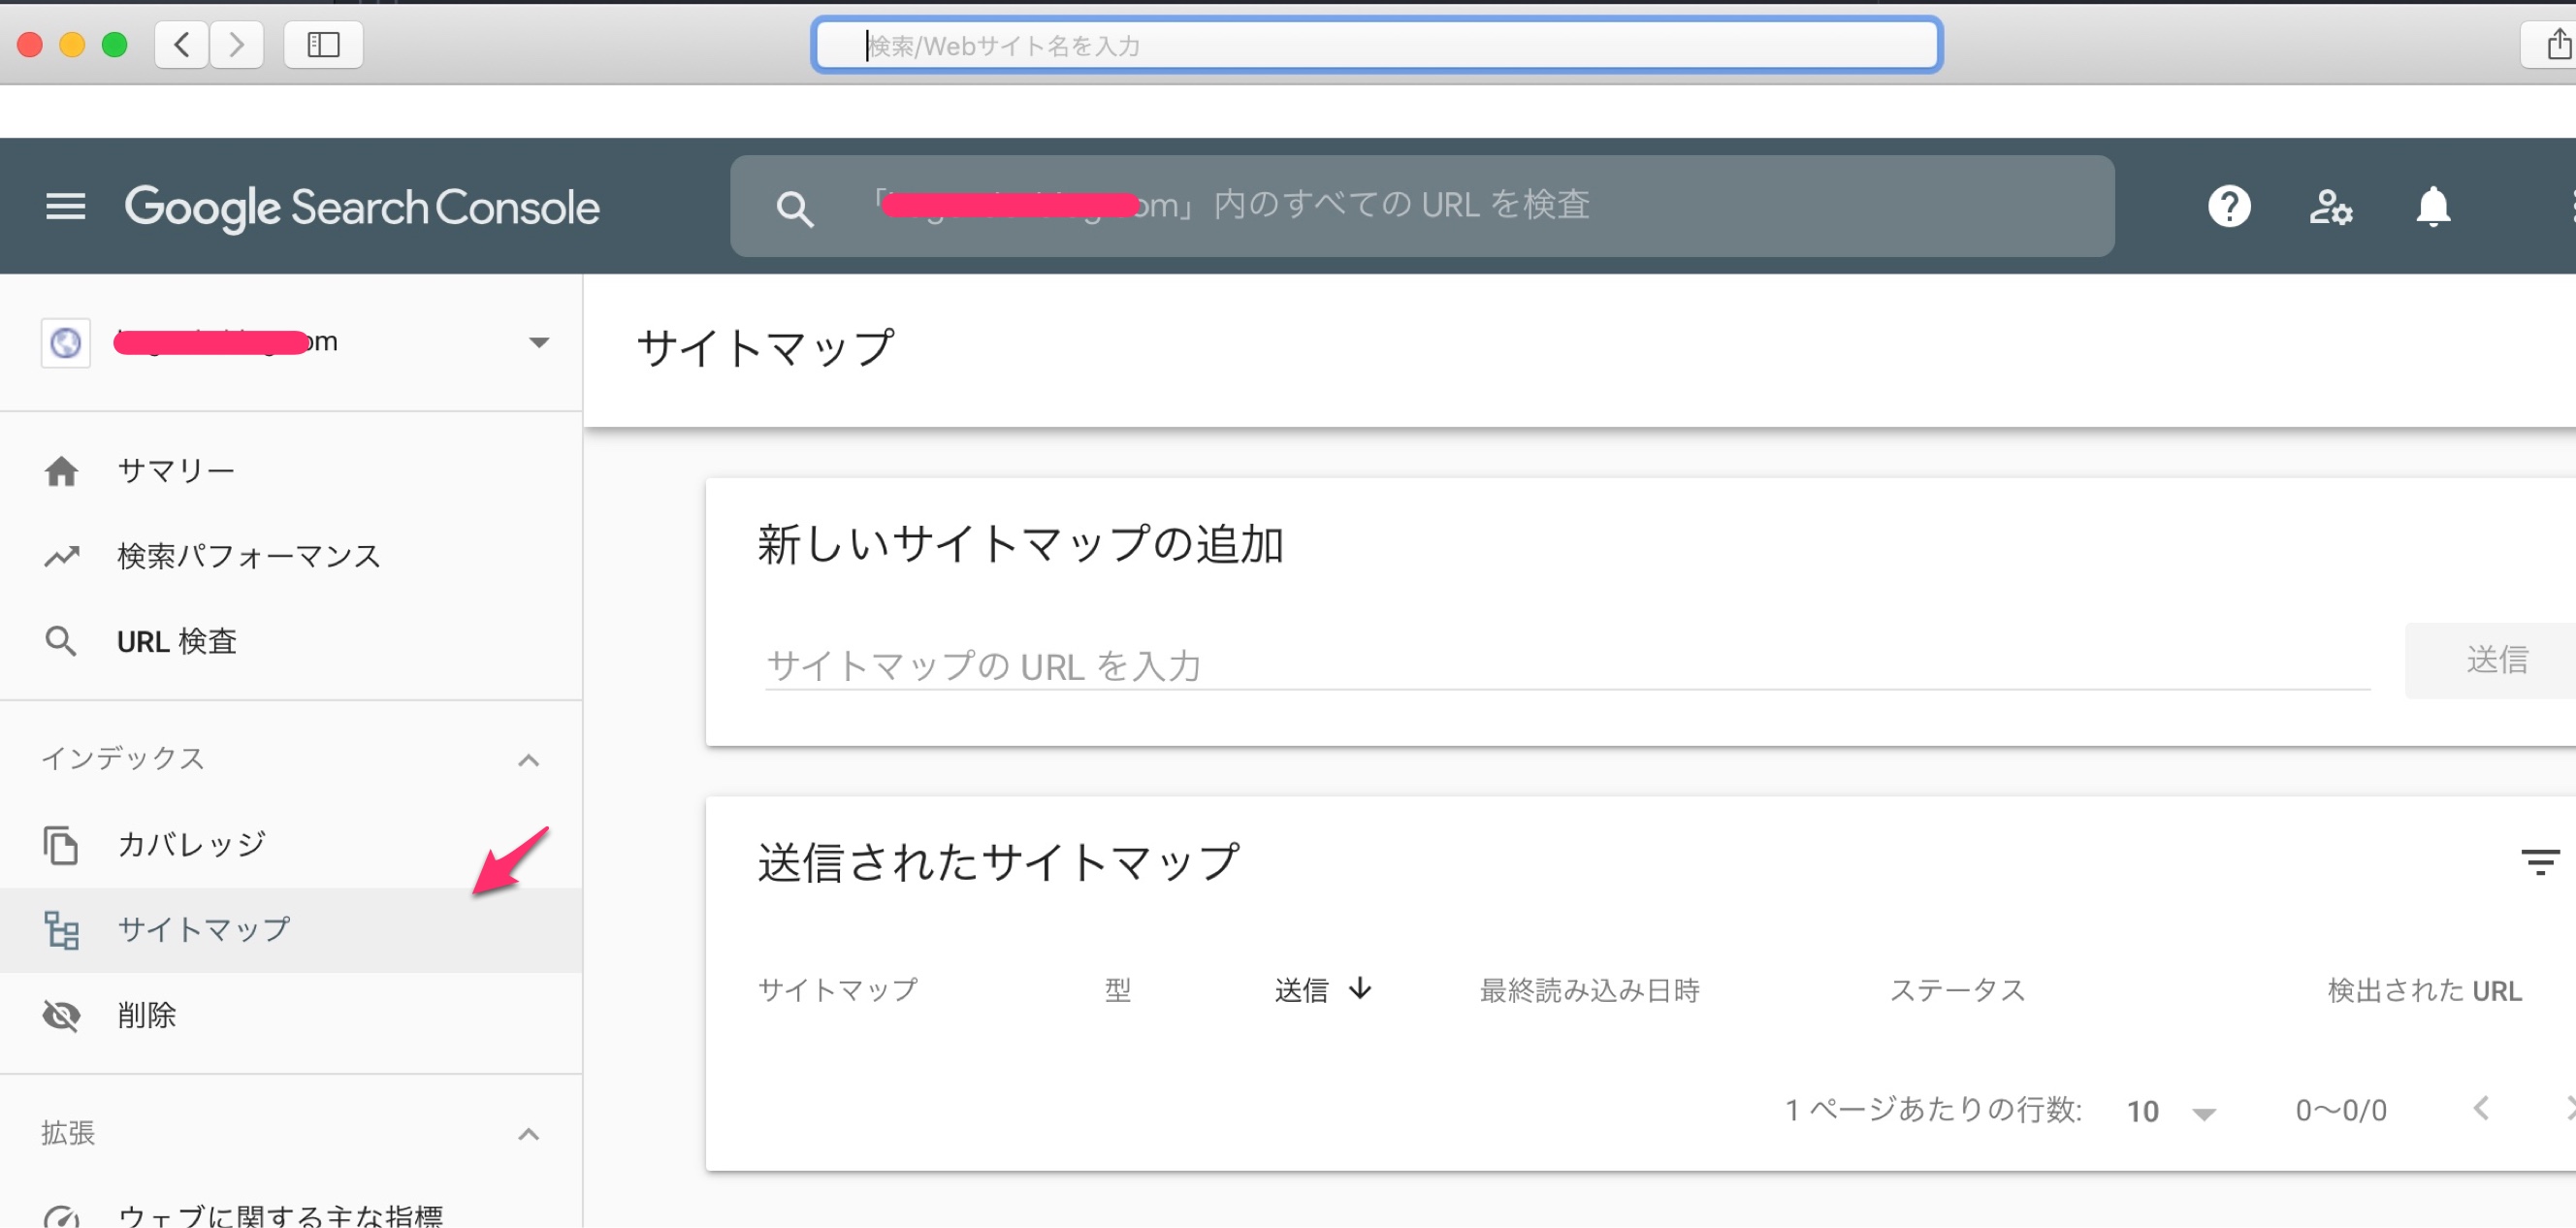
新しいサイトマップの追加の欄「サイトマップのURL入力」に自分のサイトのsitemap.xmlのURLを入力して送信。
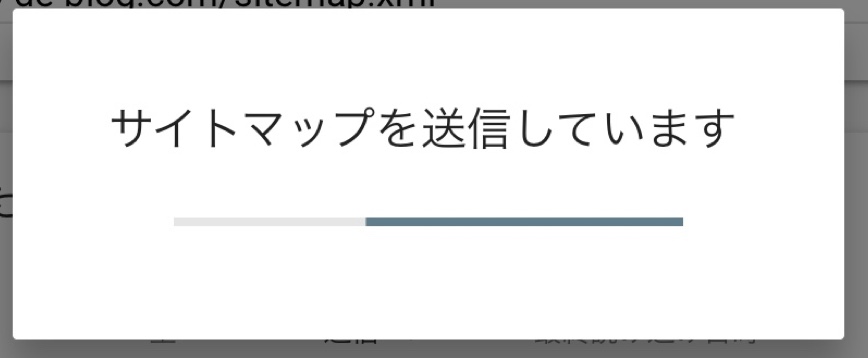
サイトマップを送信していますと表示されるので、
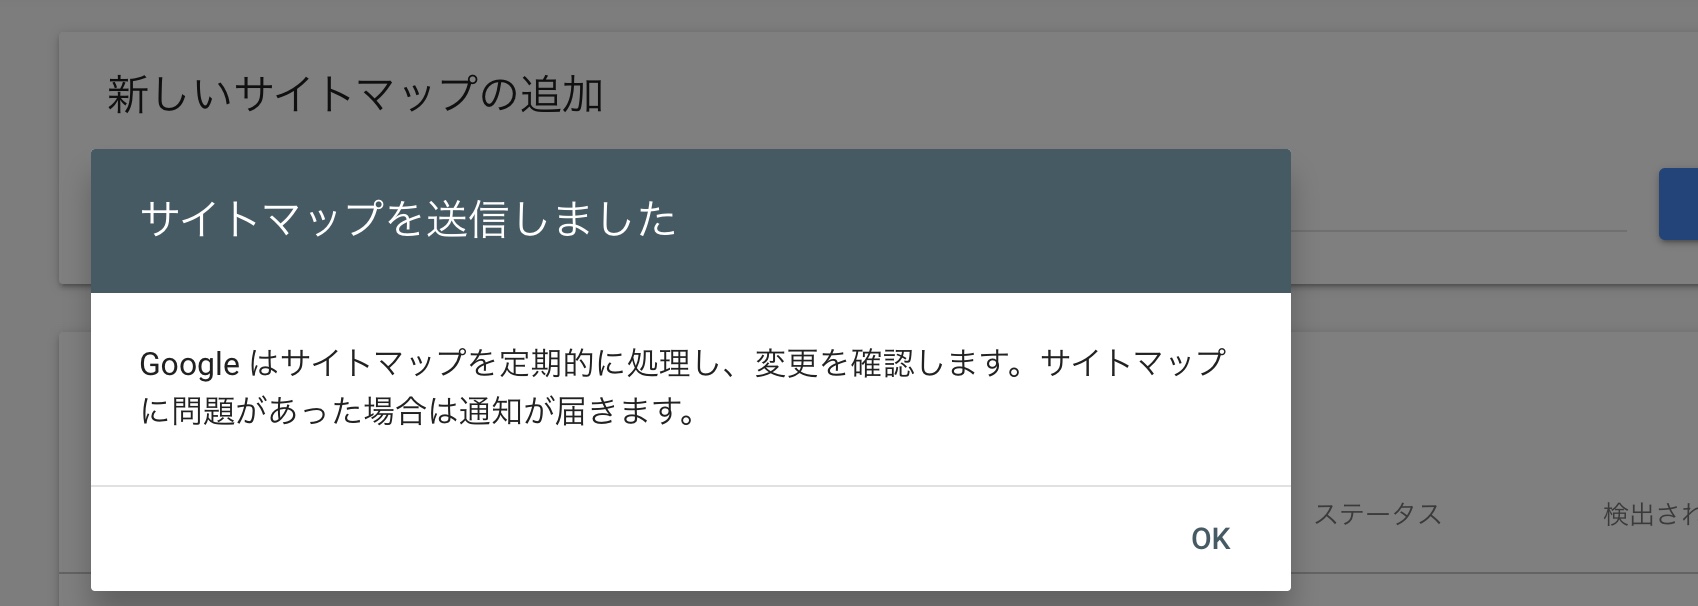
サイトマップを送信しました、と表示されて完了するのを待つ。
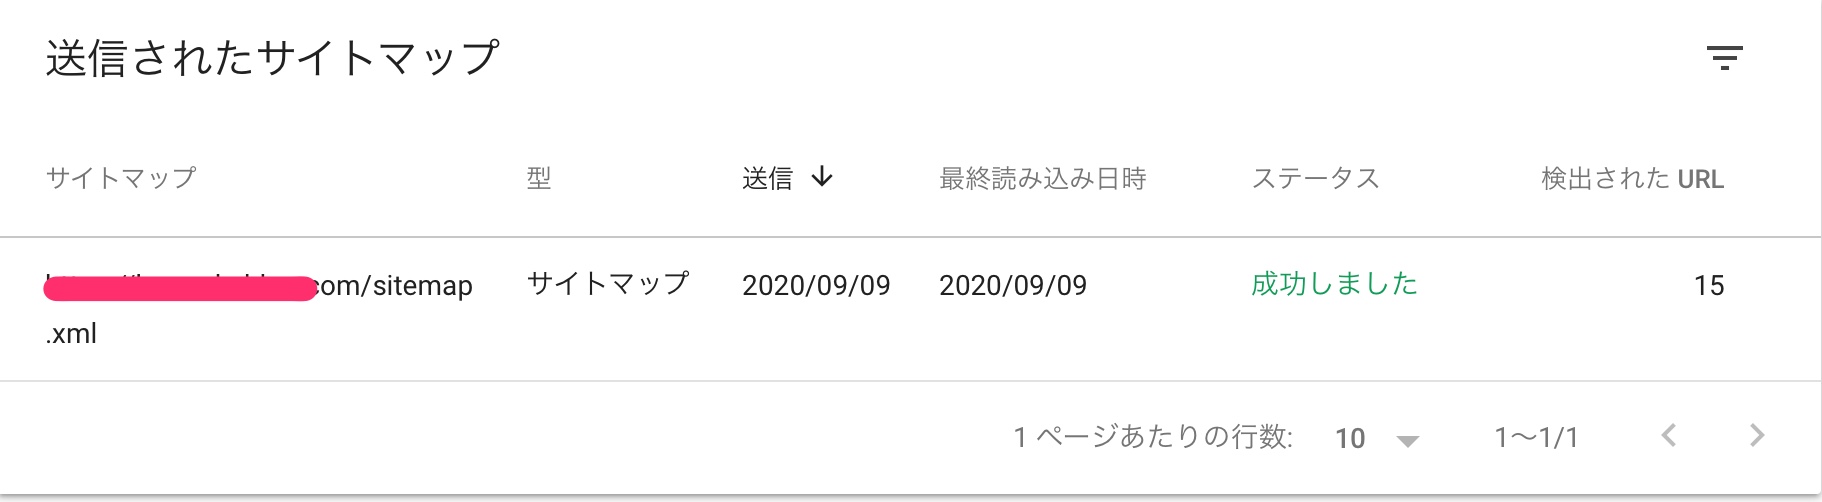
以上でsitemap.xmlのGoogleインデックスへの送信は完了。 送信されたサイトマップで検出されたURL数などに正しそうな結果が入っているかは念の為に確認しておいた方がいいだろう。